Friday 30 August 2013

Bird House Artwork


Sharing some photographs of the Bird Houses that my 2 daughters' made recently. This was from a flat pack container that you had to put together yourself and decorate with your own design.

They really enjoyed doing this as part of their new homeschooling journey, we found places in the back yard to hang them and also bought some bird treats for the birds to try to entice them into the back yard!

It was nice to find something that was suitable for both their ages. Youngest is aged 6 and eldest daughter is aged 11.


Monday 26 August 2013

Chair makeover


chair makeover muslim blog sewing
I managed to transform a Rocker Chair and stool with some lovely fabric I bought from a Charity Shop / Thrift store for a real bargain price! This chair used to belong to my grandmother and when she bought a new chair we inherited this one from her. It is a lovely chair but the fabric was a bit worn and didn't really match the décor.

I have actually been looking for bargain fabric for a few months to use for re-upholstering my dining room chairs, I couldn't believe my luck when I came across this fabric. Not only was it decent fabric (Laura Ashley Curtains) the size of the fabric was amazing! Each curtain piece was 250cm drop and 450cm width! That is a lot of fabric!

I bought it from a local charity shop which is much cheaper - it was slightly sun stained at the side but considering the width of the fabric that was nothing. I bought all of this fabric for only £7 if this was new you would be looking at a few hundred pounds.

I have already finished a few other projects with this fabric which  I will hopefully be posting shortly Insha'Allah.

chair makeover muslim blog sewing

All the pieces from this chair came apart and they actually fit on with press studs. All I had to do was use the original covers to make a pattern and stitch them up using sewing machine - this was actually fairly easy. I had to hand sew the ends close, but again this was easy considering the closures are not on display, so no need for perfect sewing!

The only piece that needed more attention was the stool cushion. Again this was just a normal cushion attached by Velcro, but I did hand sew the closure which needed to be neater. I could have added a zip to make it neater, but I just made it the same way as it was originally made.

The chair looks brand new now and fits in with the décor much better now, so I am really pleased with my find.  I can't wait to show you what else I made with all this amazing fabric! Keep watching.


Monday 19 August 2013

DIY Desk Tidy

DIY Desk Tidy crafts muslim blog

A Desk Tidy made by my 11 year old daughter! She made this all by herself from cardboard tubes of different sizes and sticky backed plastic to decorate. She also added beads to make the design more girly!

She has this in her room on her desk so that she is all organised for her Homeschooling journey!

Sorry I didn't have any progress photos but she made this without telling me so I only have the finished photograph to show you.

I think she did a brilliant job, she has added stuffing in some of the tubes so that the stationery items can be near the top of the long tubes. This is a great Upcycling Project.


Monday 12 August 2013

DIY Stamps - Great Ideas


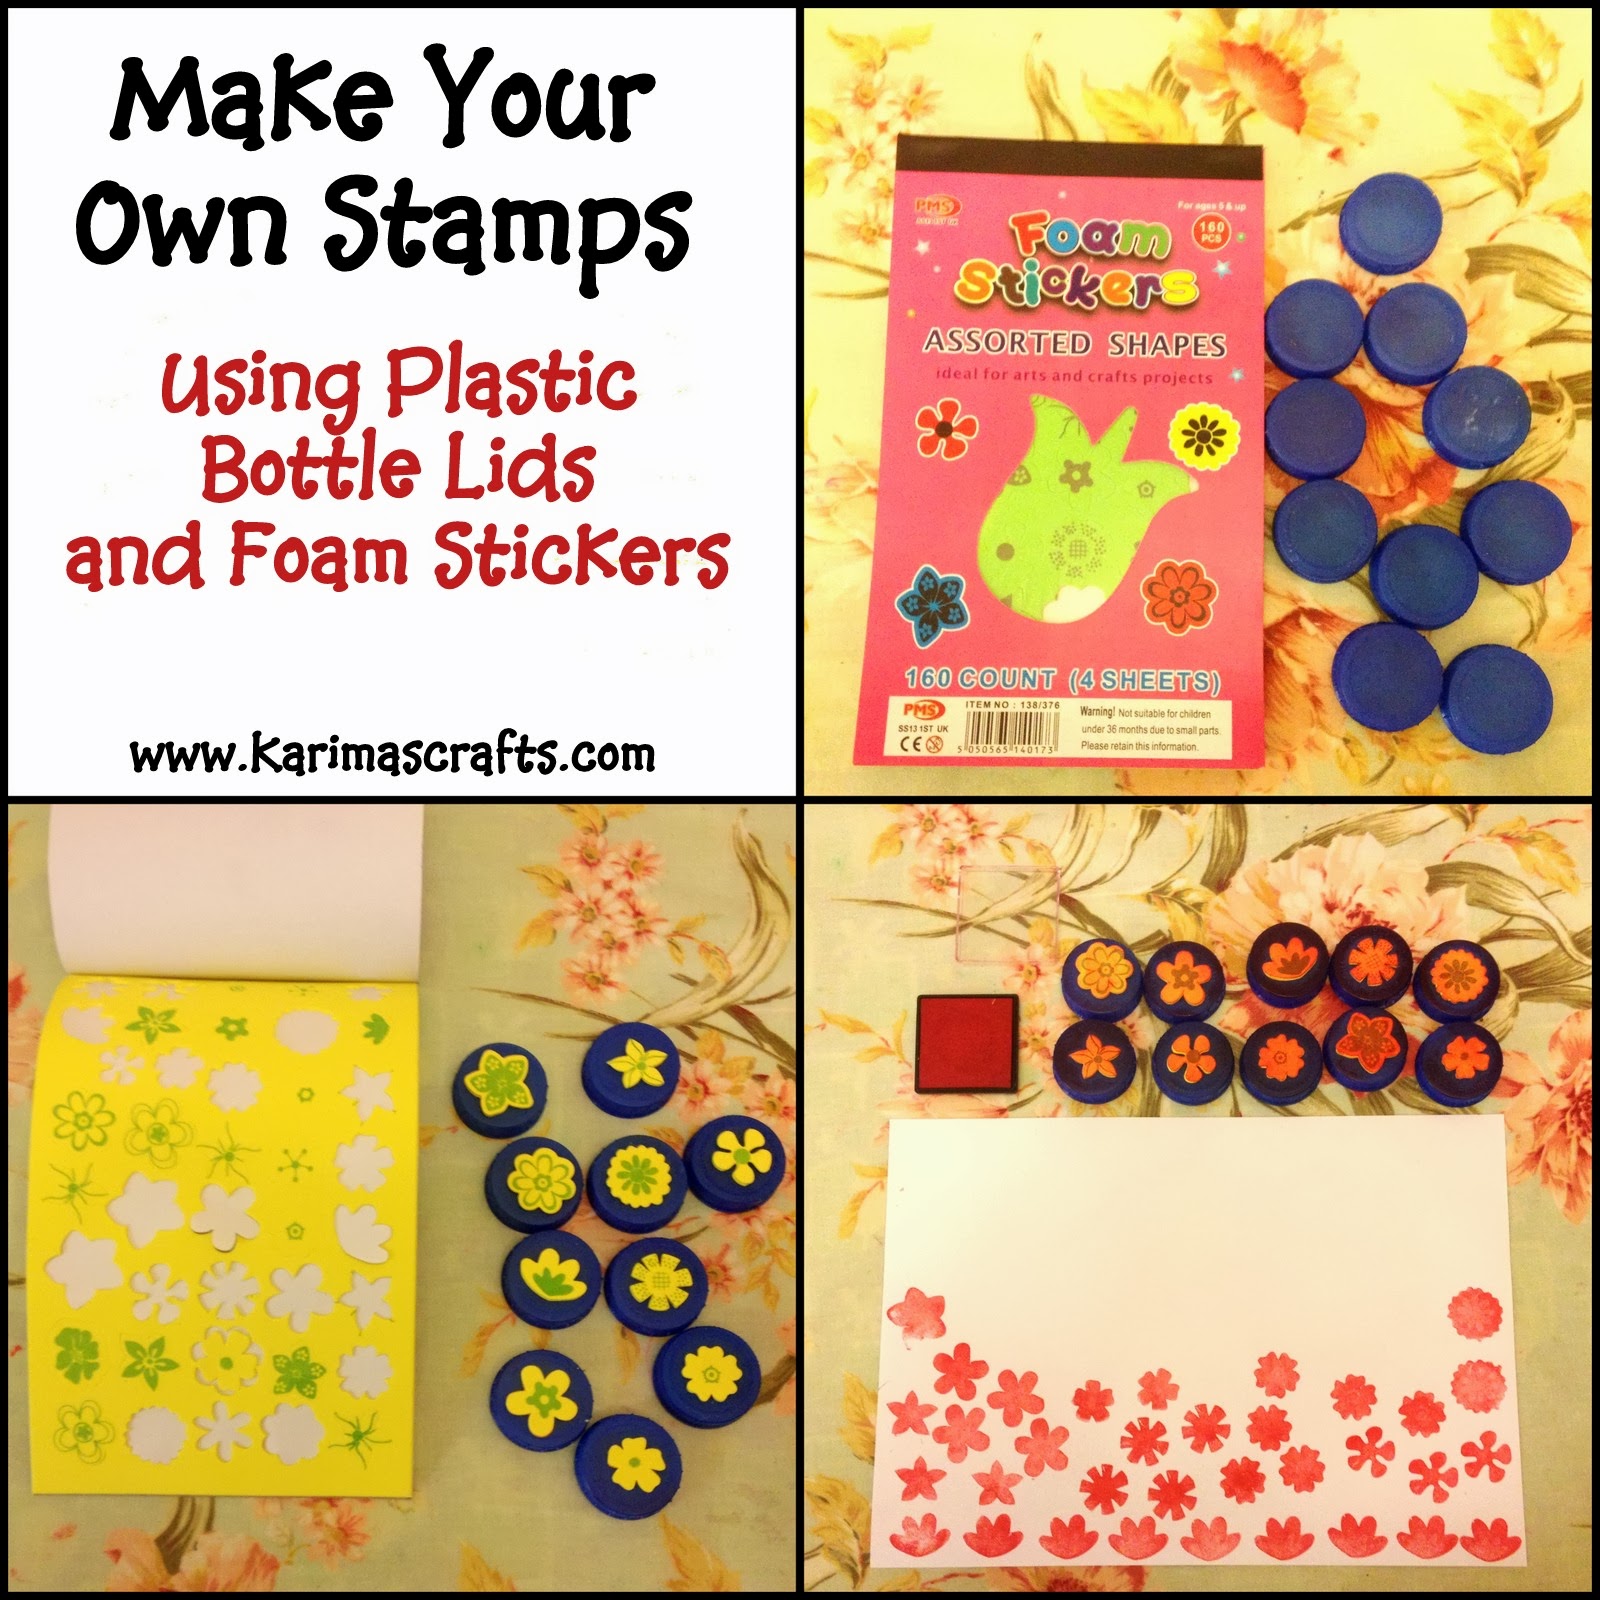
Here is a great way to make your own stamps. I used some pre-cut Foam Stickers and some plastic milk bottle lids for this project. You could just use pre-cut foam and use glue or actually cut out your own shapes from foam sheets bought at craft/stationery shops.

Requirements:
  • Plastic Bottle Tops
  • Foam Stickers
  • Optional: Glue if using just Foam.

Instructions:

Step 1) Find some plastic bottle tops and make sure they are cleaned thoroughly.

Step 2) Place the pre-cut stickers to the centre of the top of the lid. If the stickers are very thin you could actually place 2 identical stickers on top of each other to make it work more clearly! If using normal foam then glue these onto the lids.

Step 3) Then place your newly made stamp into an ink pad and start making some designs on your paper/craft work.


If you want to have a unique design you could cut out your own designs from the foam. Below is a photograph of some Islamic themed designs which I mentioned briefly during my Ramadan Project! Ramadan-crafts-extra-30-days-of-ramadan.html


Thursday 8 August 2013

Eid Mubarak 2013

 
Eid Mubarak. It is now the end of Ramadan 2013 and for me it has passed so quickly. I can't quite believe it is already Eid!  I hope it has been a great month for everyone and that we may have learnt something new this Ramadan.
 
I hope everyone has enjoyed the Ramadan Craft Posts I have been posting this month, it feels strange not writing daily posts anymore, but I will still hopefully start again posting my weekly posts Insha'Allah.

Monday 5 August 2013

30 Days of Ramadan Crafts - Roundup

 
I have really enjoyed doing the 30 Days of Ramadan Crafts Project. Yes it has been tiring and hard work putting all the posts together, but my children have really enjoyed being involved with all of the crafts. In this post I have given links to all of the posts to make it easier for you to search for them all.


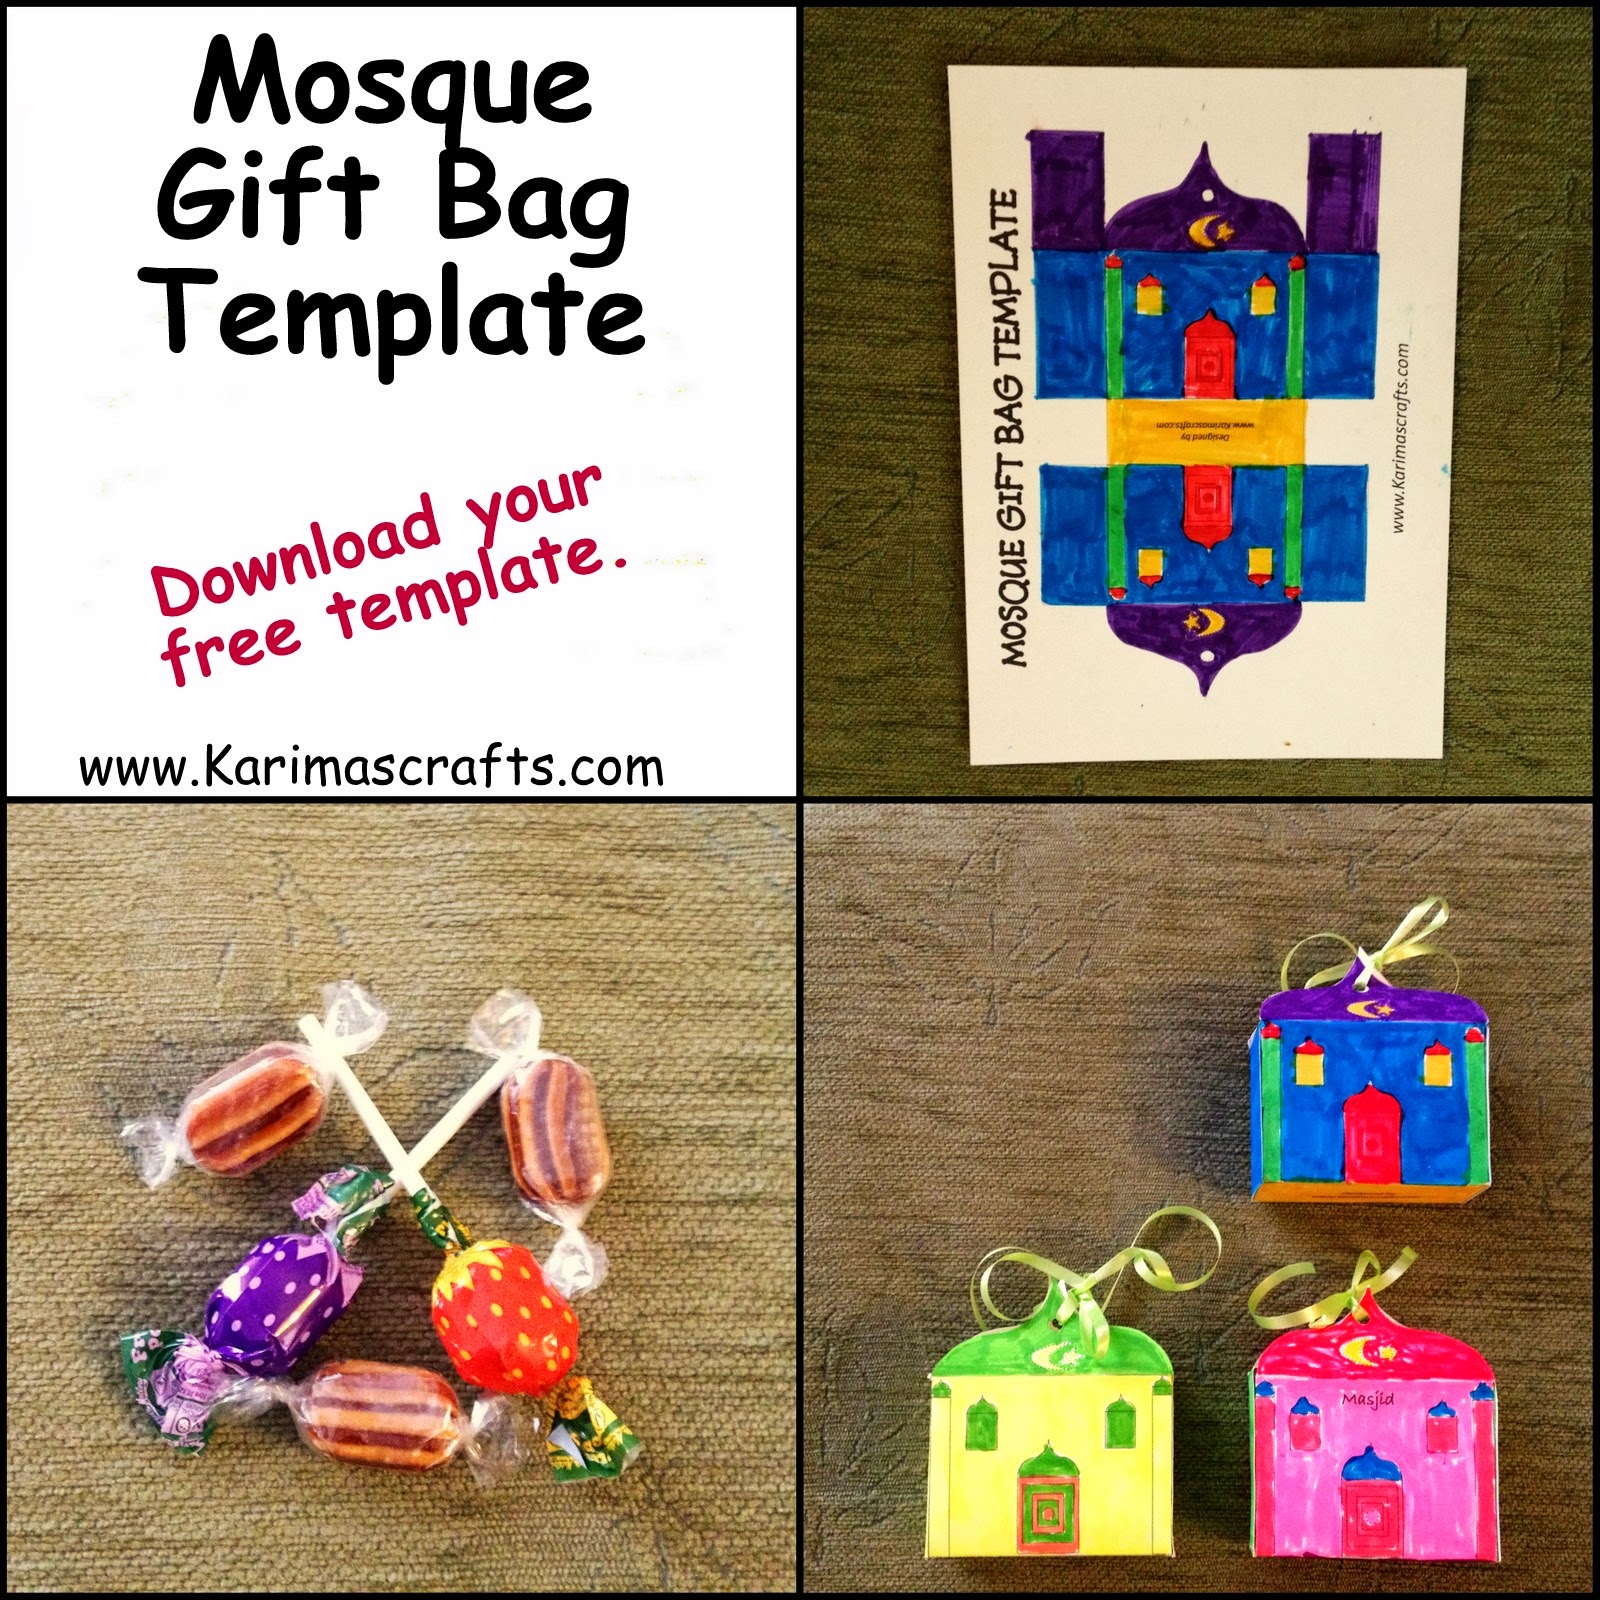
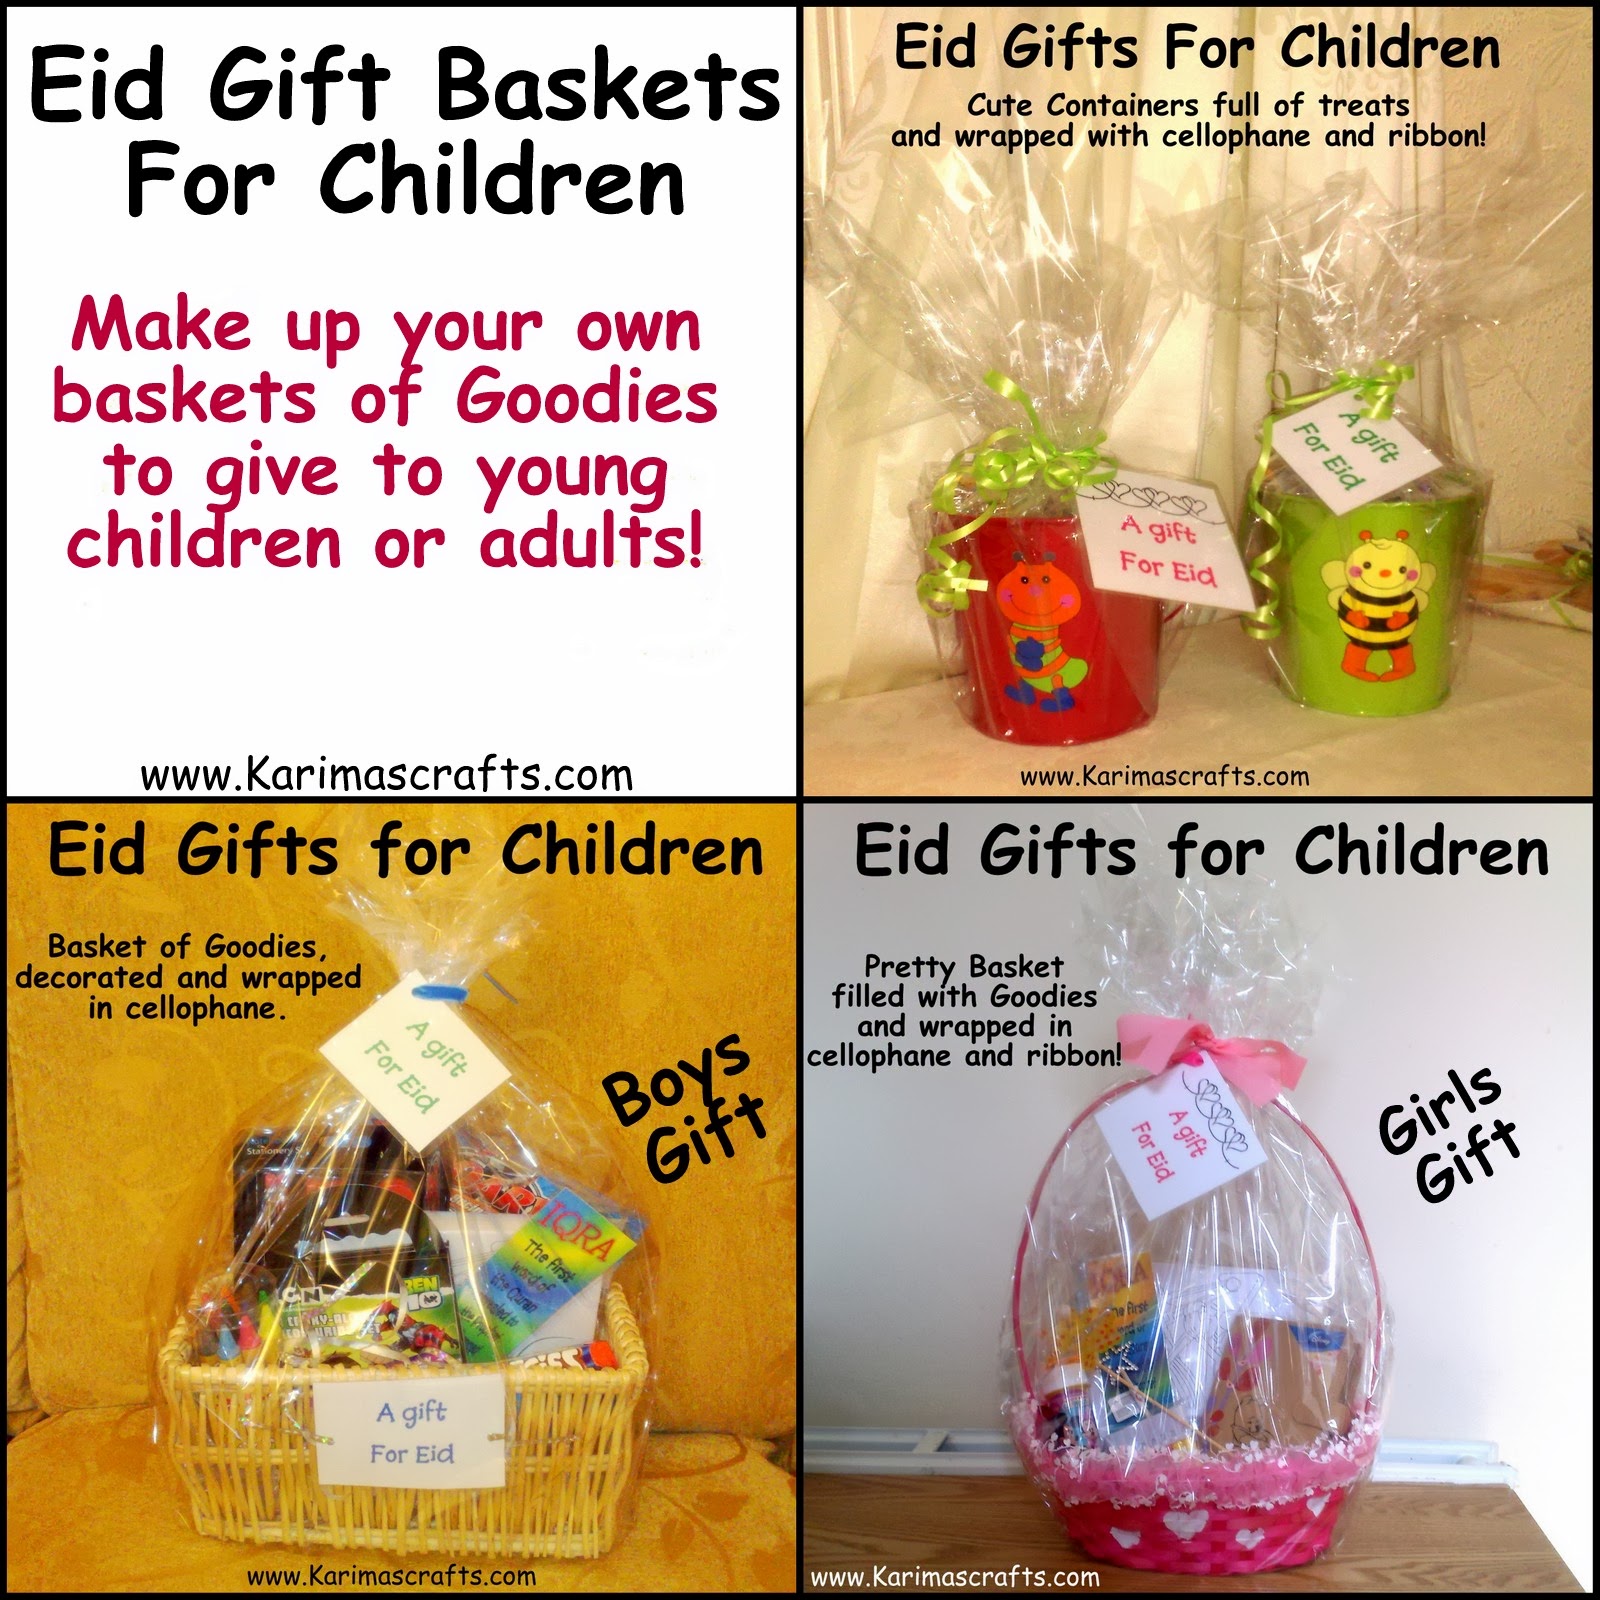
Below are a few photos of the more popular crafts I have blogged about in this project.


Don't Forget that if you have made any of the Ramadan Crafts that I have blogged about, then please send in a photograph and I will publish this on my blog and my Facebook Page! You can send this via email (karimascrafts@gmail.com) or post on my Facebook Page Karimas-Crafts directly.
 

Thursday 1 August 2013

Ramadan Crafts Extra - 30 Days of Ramadan Crafts


ramadan crafts extra Muslim Islamic
Ramadan Crafts Extra - 30 Days of Ramadan Crafts 
 
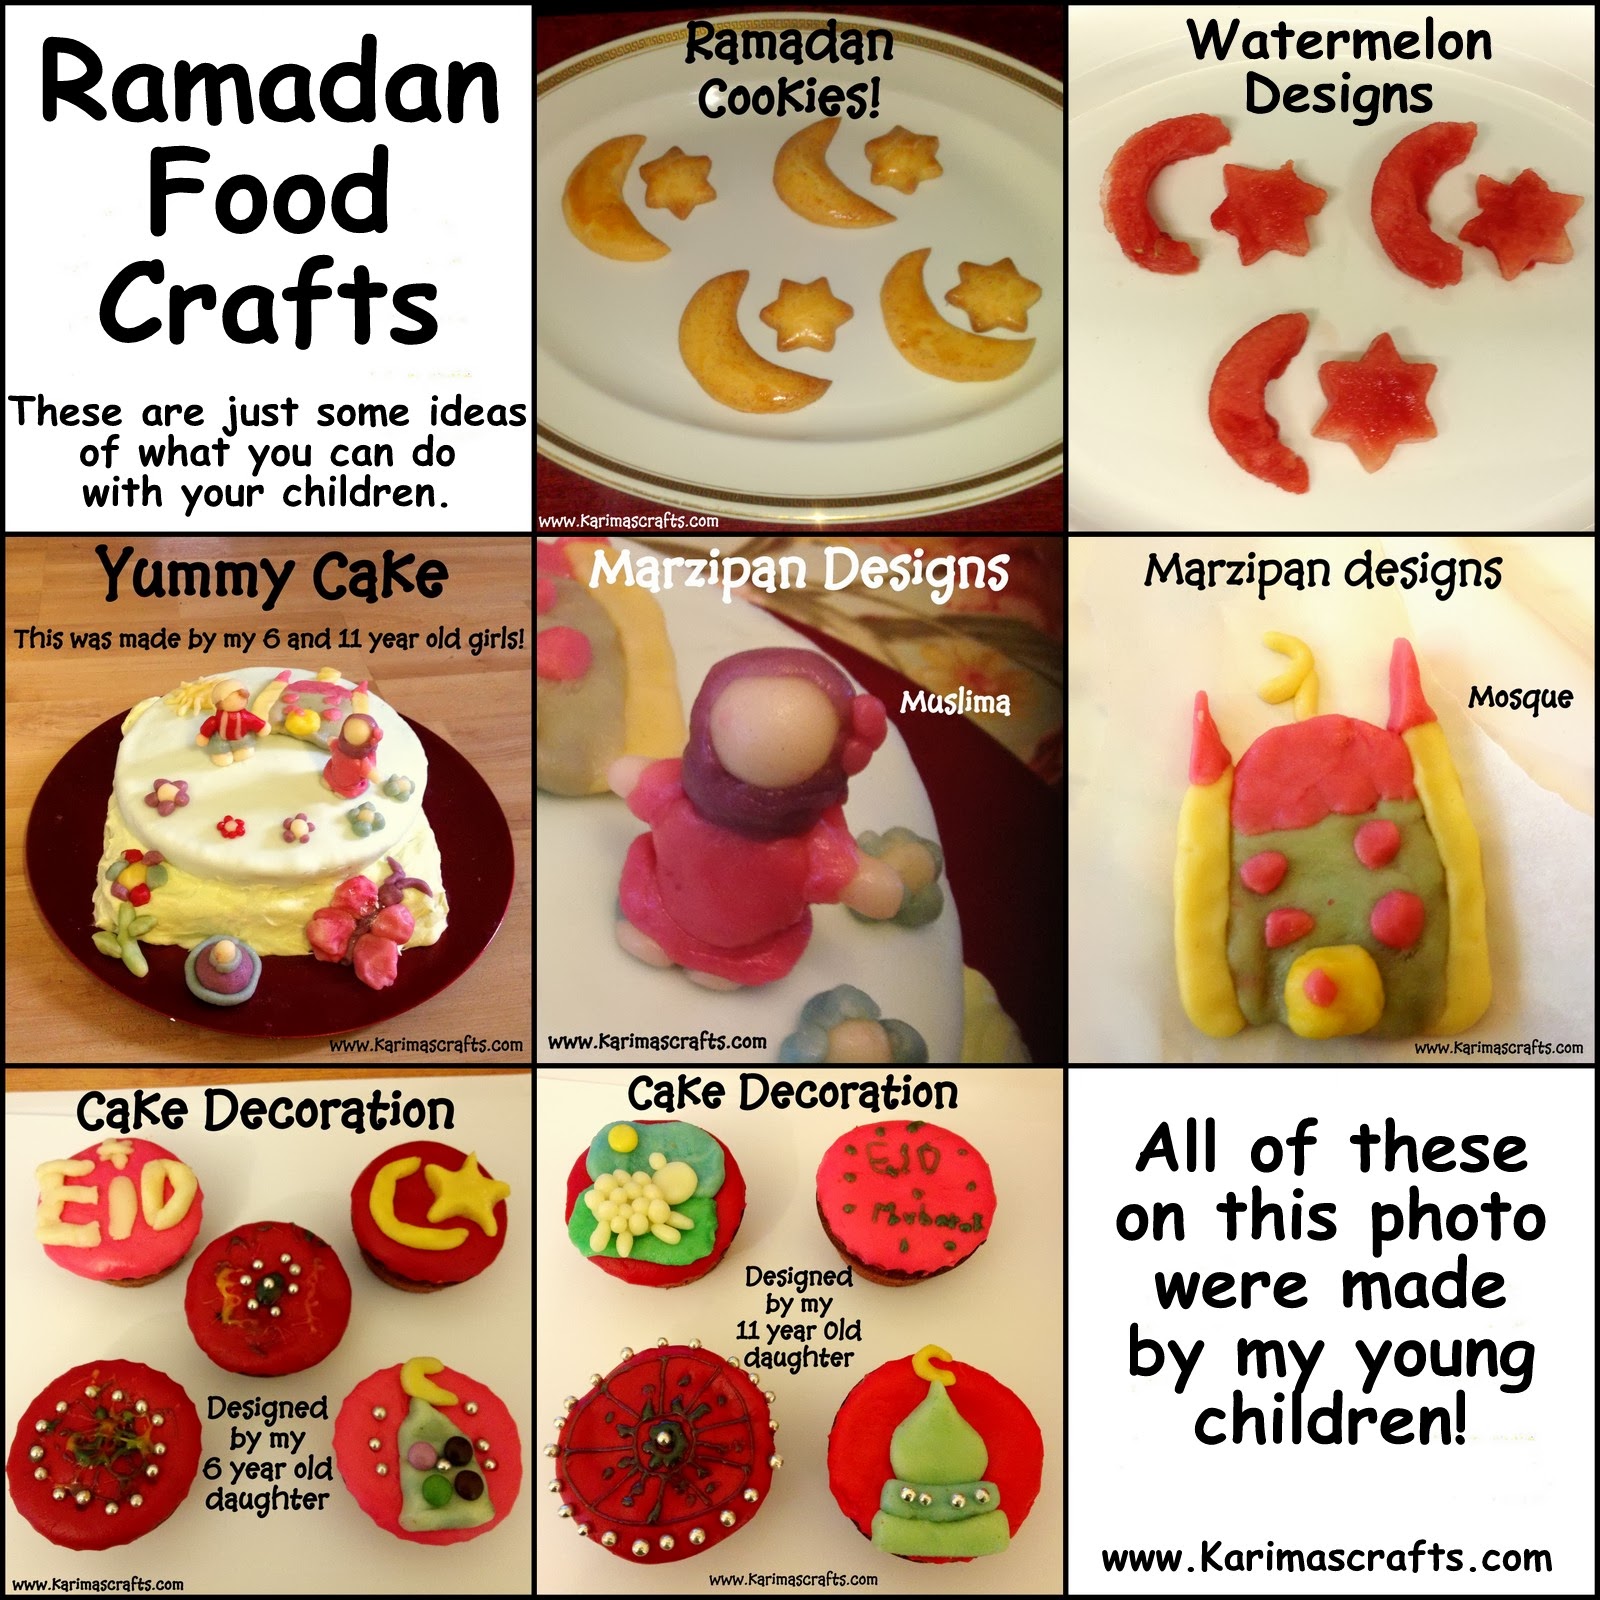
In our household we have been so busy with crafts for Ramadan this year, mainly for projects for my 30 Days of Ramadan Project. I had a few other crafty ideas which I didn't blog about so thought I would do one more post which covers a few other crafty ideas that can be Ramadan/Eid related.
 
The photograph below shows some Islamic Themed Stamps that we recently made. We used Plastic Milk Bottle lids and stuck on some hand cut out shapes of a star and crescent moon using craft foam. We also made some other designs using pre-cut foam shapes!
 
ramadan crafts extra Muslim Islamic stamps
 
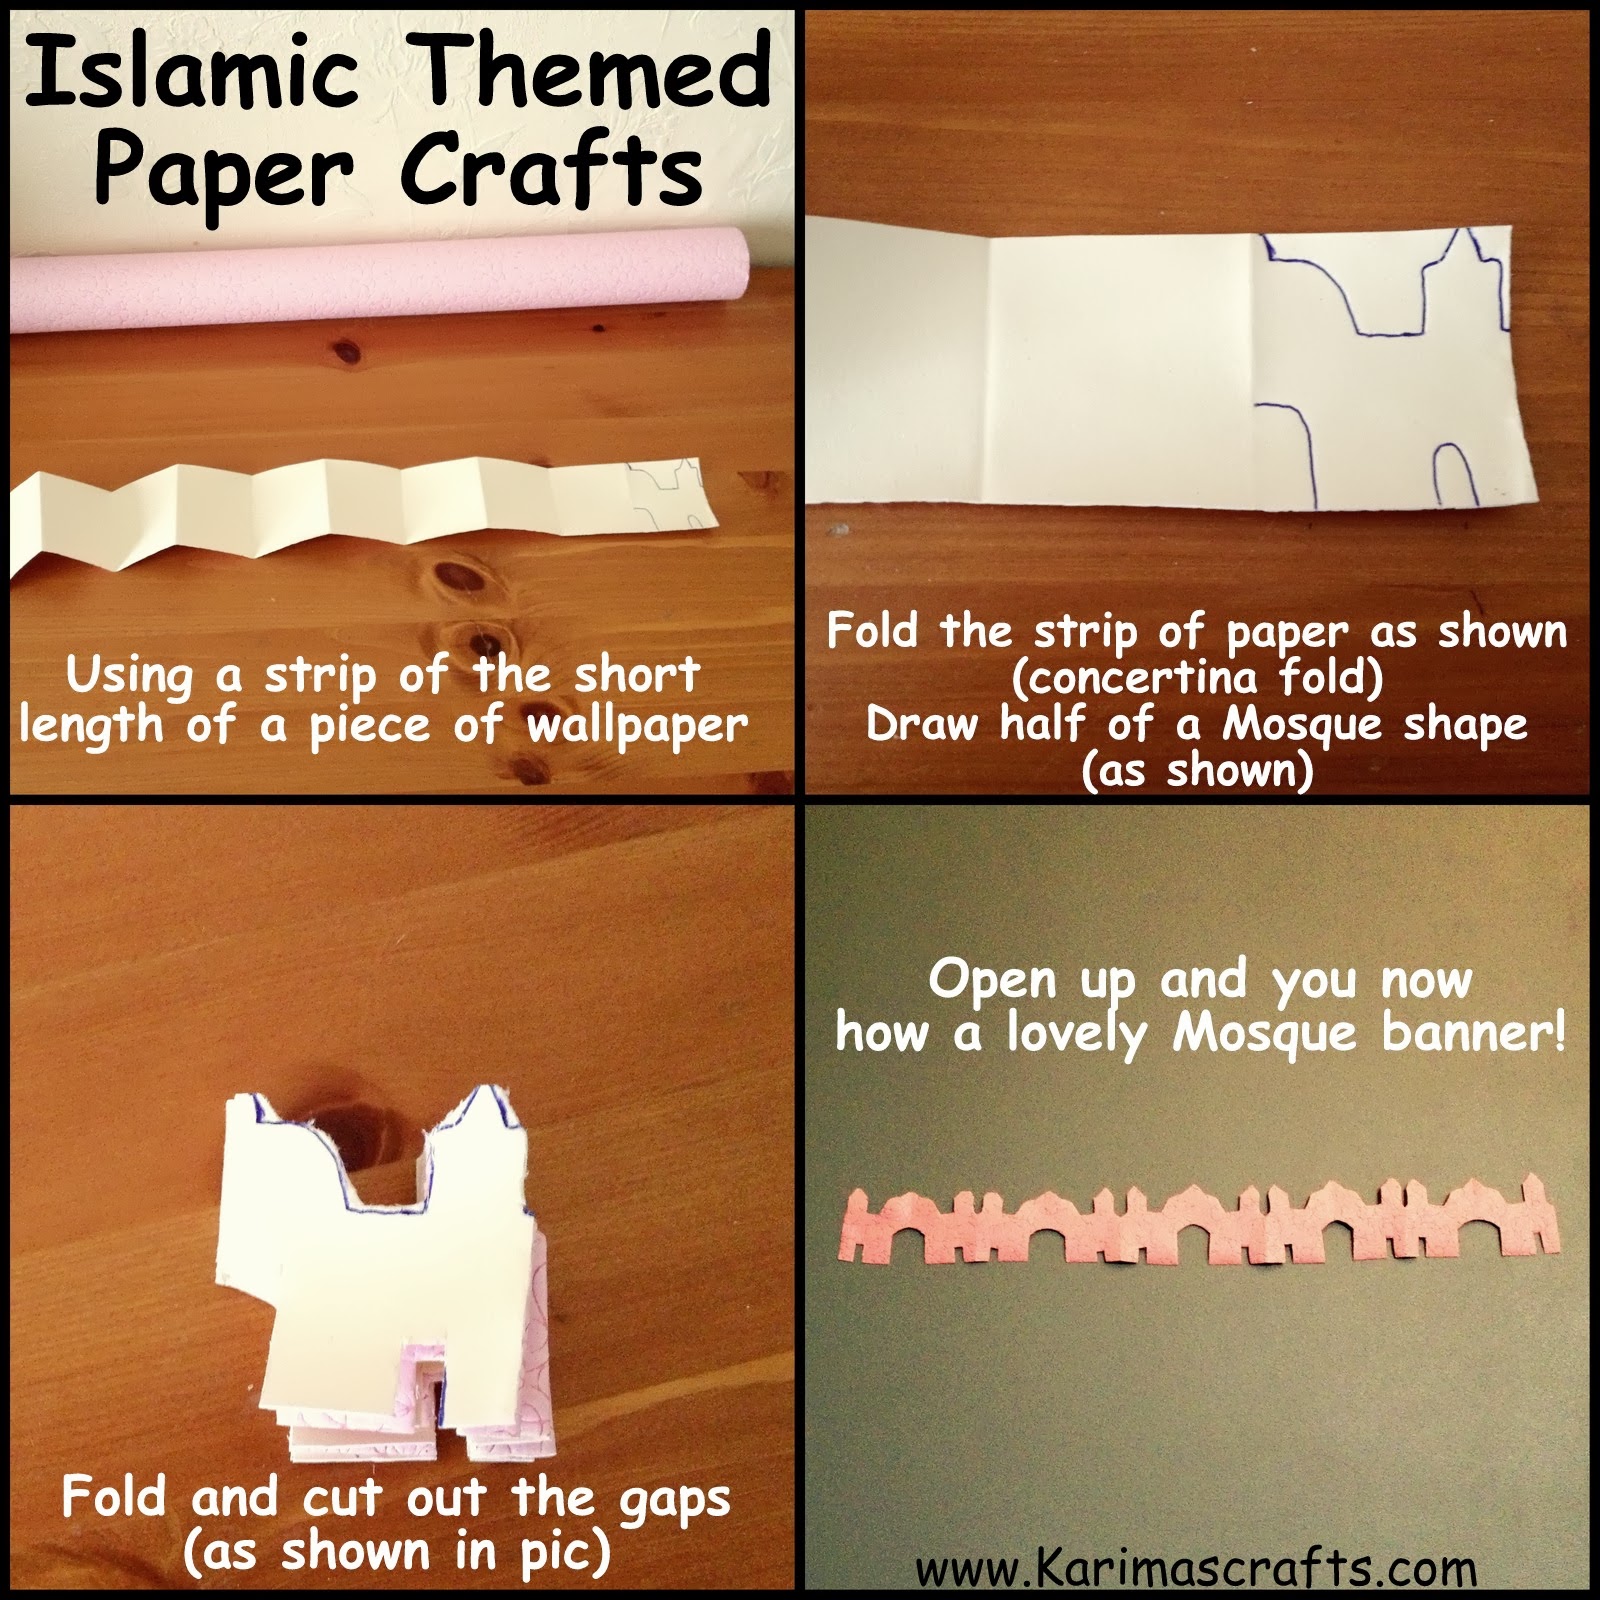
The photograph below was inspired by those folded paper crafts that you cut out the shape of a person - Paper Chains. I thought why not have one with a shape of a mosque! I think it turned out well and the girls love the fact I chose the colour pink!
 
ramadan crafts extra Muslim Islamic paper chain
 
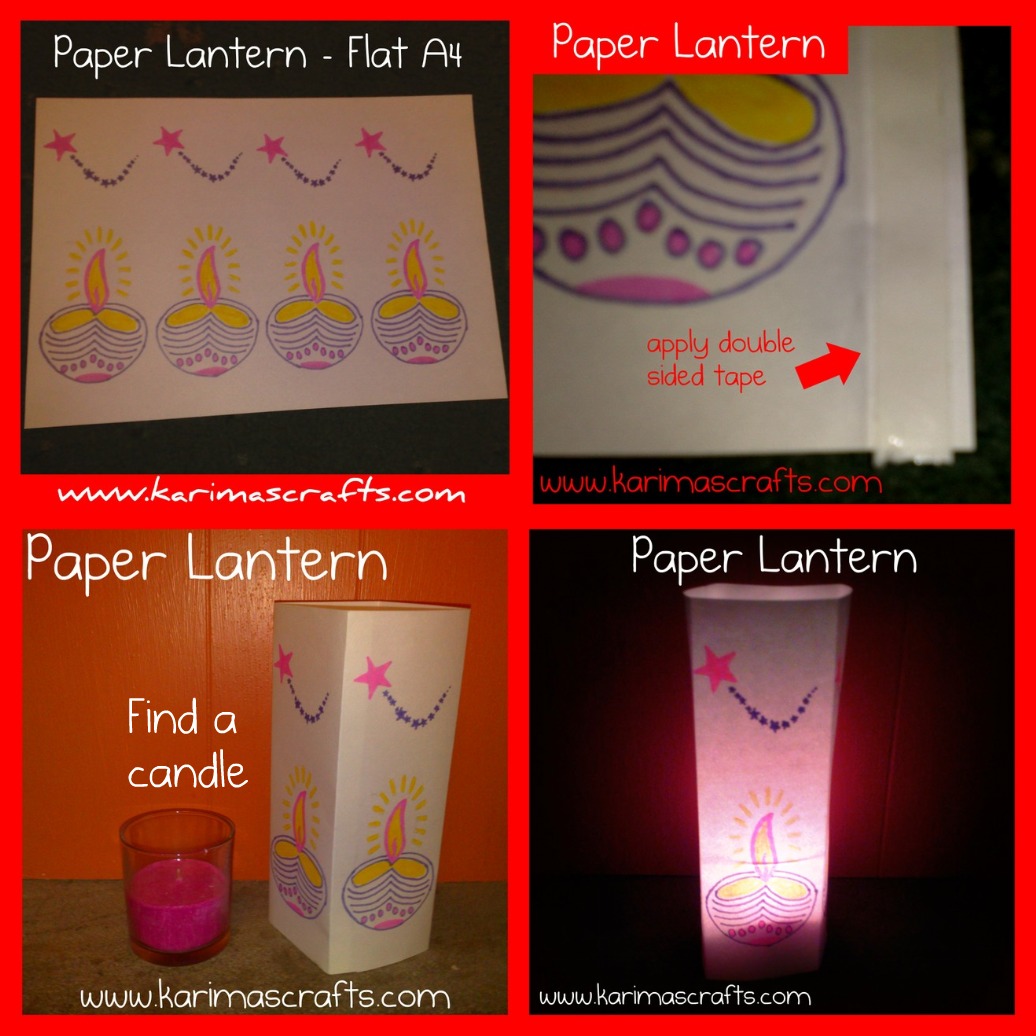
The photograph below shows some paper lanterns that my children have previously made. These could be a great craft for children to get involved with during Ramadan. Here is the link to my original post and tutorial: paper-lantern-tutorial.html
 
ramadan crafts extra Muslim Islamic paper lantern
 
The photograph below shows a great hijab pin / brooches organiser that is so easy to make from a decorative photo frame! This could be an ideal gift to give a young Muslima. Here is the link to my original post: hijab-pins-or-brooches-display-board.html
 
ramadan crafts extra Muslim Islamic hijab organiser
 
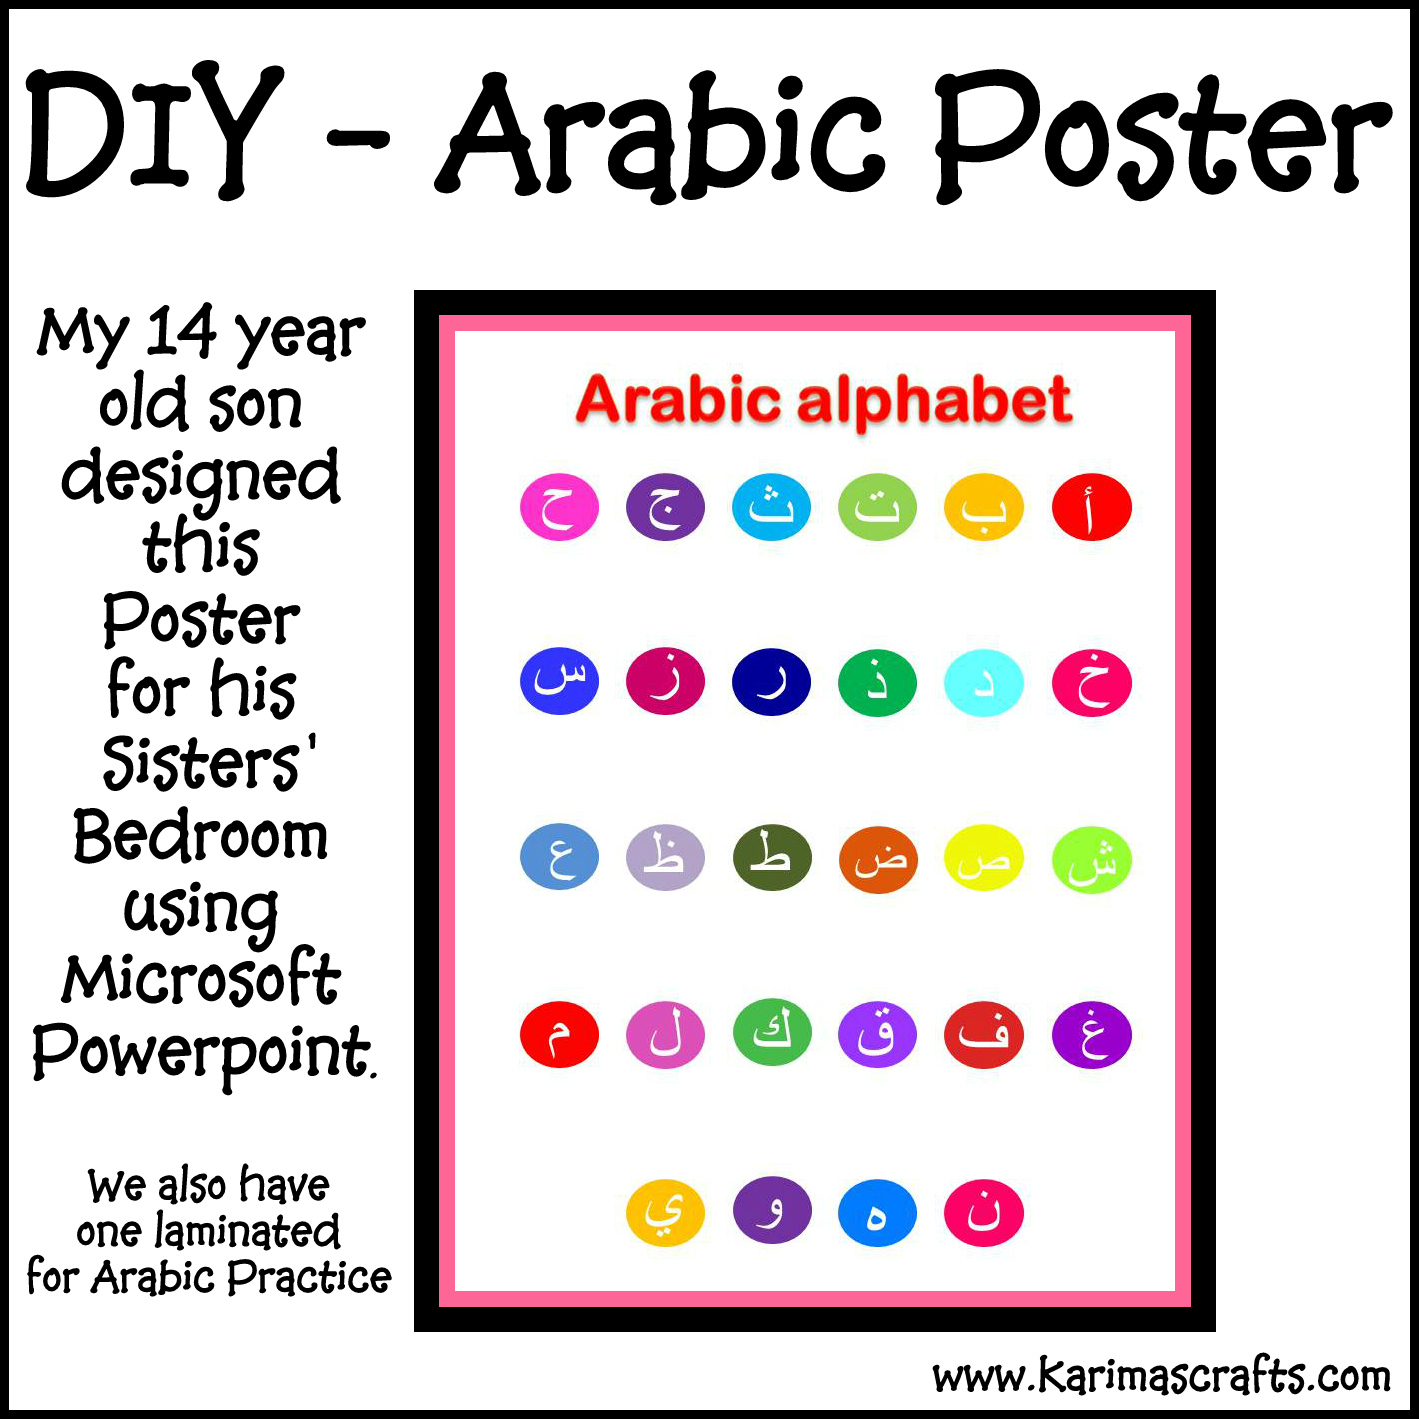
The photograph below shows an Arabic Poster that my son designed using Powerpoint on the computer, you could make your own using a similar computer package or actually hand design one yourself. These are a great aid in helping young children learn their Arabic alphabet! Here is a link to my original post: diy-arabic-poster.html
 
ramadan crafts extra Muslim Islamic arabic poster

Don't Forget that if you have made any of the Ramadan Crafts that I have blogged about, then please send in a photograph and I will publish this on my blog and my Facebook Page! You can send this via email (karimascrafts@gmail.com) or post on my Facebook Page Karimas-Crafts directly.